Taking the training of a flame detection model as an example, this tutorial explains the entire process in detail, covering dataset preparation, image annotation, and model training.
Dataset Preparation & Annotation
Dataset Splitting
First, split the dataset into a training set and a validation set, typically with a ratio of 8:2 or 9:1.
- Training Set: Used for model training and parameter optimization, enabling the model to learn data features and patterns.
- Validation Set: Used to evaluate model performance, adjust hyperparameters, prevent overfitting, and select the optimal model.
Splitting data into training and validation sets is similar to doing practice exercises and mock exams during learning:
Practice exercises improve problem-solving skills, while mock exams test learning outcomes and prevent the model from “memorizing exercises” instead of generalizing to new data.
By balancing practice and mock exams, and continuously adjusting learning methods, you can achieve better results. The same logic applies to model training—using the training and validation sets effectively enhances the model’s performance and generalization ability on new data.
Dataset File Structure
To simplify data loading and preprocessing, YOLOv5 follows a specific file structure convention for datasets:
plaintext
dataset/
├── images/
│   ├── train/  # Training images
│   └── val/    # Validation images
└── labels/
    ├── train/  # Corresponding labels for training images
    └── val/    # Corresponding labels for validation images
- images/ folder: Stores training and validation images in the
trainandvalsubfolders respectively. - labels/ folder: Stores annotation files with the same filenames as the images but with a
.txtextension.
Dataset Annotation
Why Annotation Is Required?
To let the model “understand” what is in the images: Annotation tells the model the content and exact location of each object in every image.
For example: If there is a cat in an image but no annotation, the model will only see a set of pixels without recognizing what it is. By annotating “this is a cat”, the model can learn the visual features of a cat.
What to Annotate?
- Object Class: Specify the category of each object in the image.Example: When training a model to distinguish between cats and dogs, you need to label each object as either “cat” or “dog”.
- Object Position: Mark the exact location of the object in the image, usually represented by a bounding box.Example: In an image with a cat, draw a box around the cat’s entire body to indicate its position to the model.
How Large Should the Dataset Be?
A larger dataset is not always better—it depends on the task. Low-quality images or inaccurate annotations will not improve model performance, no matter how many samples you have.
The optimal dataset size depends on task complexity, image quality, and annotation accuracy:
- Small dataset: 100–200 images
- Medium dataset: 300–500 images
- Large dataset: 1,000+ images
Image Requirements:
- Keep image dimensions consistent as much as possible.
- Resolution should not be too low (minimum 500×500 pixels).
- Target features should be clear.
- Include images from multiple angles and scenarios to help the model generalize better.
LabelImg: Annotation Tool
LabelImg is an open-source image annotation tool designed for preparing labeled datasets for machine learning projects. It supports multiple annotation formats (including PASCAL VOC and YOLO) and features a clean, intuitive interface for easy operation.
For the sake of brevity, AI-powered automatic annotation tools (e.g., X-AnyLabeling) will be covered in a separate tutorial.
Installation
Run the following command in the terminal to install LabelImg and its dependencies (using Tsinghua University’s PyPI mirror for faster downloads in China):
pip install labelImg -i https://pypi.tuna.tsinghua.edu.cn/simple/
Launch the Tool
Enter the following command in the terminal to start LabelImg:
labelimg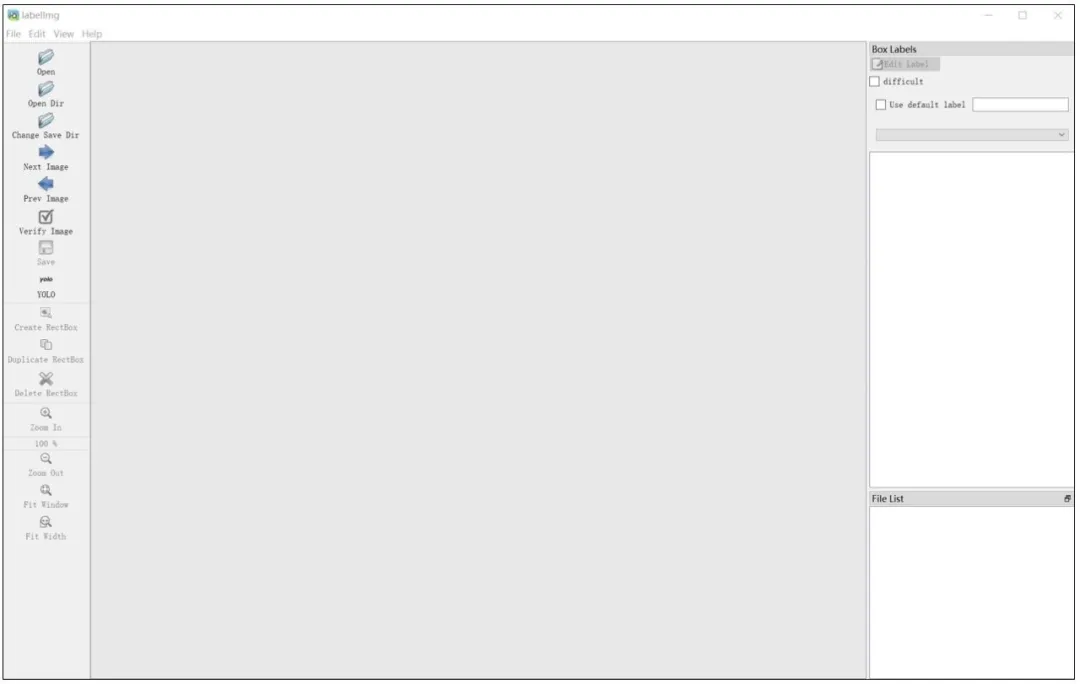
Usage Steps
- Click Open Dir to select the folder containing images.
- Select the YOLO annotation format.
- Click Create RectBox, drag the mouse to draw a bounding box around the target object.
- Enter the label (e.g.,
fire) and click OK. - Save the annotation—this generates a
.txtfile in the corresponding folder with the same name as the image. - Repeat the process until all images are annotated.
Annotation File Format
Annotation files are in .txt format. Each line represents one object and contains the following information (all values are normalized relative to the image width and height):
class_index center_x center_y width height
Model Training & Key Notes
Pre-trained Model Selection & Parameter Configuration
1. Select a Pre-trained Model
Choose an official YOLOv5 pre-trained model based on your needs, such as YOLOv5s, YOLOv5m, YOLOv5l, or YOLOv5x.
2. Configure Parameters
Before training, you need to adjust parameters in two YAML files:
- A dataset configuration file in the
datadirectory. - A model configuration file in the
modelsdirectory.
Modify the Dataset Configuration File
- Locate
coco.yamlin thedatafolder and make a copy. - Rename the copy to a project-specific name (e.g.,
fire.yaml). - Keep only the following four parameters in the file:yaml
train: path/to/dataset/images/train # Path to training images val: path/to/dataset/images/val # Path to validation images nc: 1 # Number of classes (1 for flame detection) names: ['fire'] # Class name
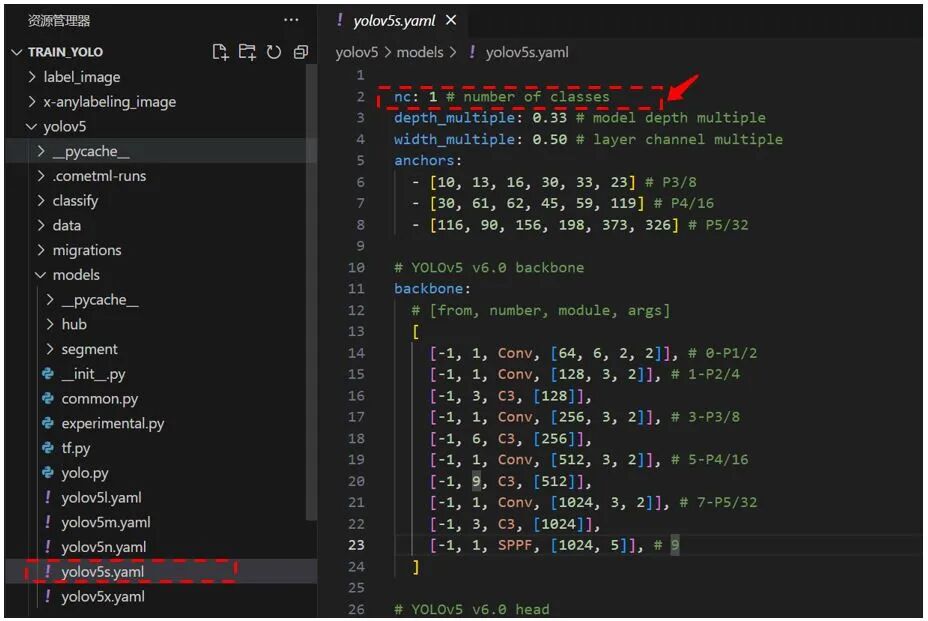
Modify the Model Configuration File
- Open the model configuration file (e.g.,
yolov5s.yamlfor YOLOv5s) in themodelsdirectory. - Change only the
nc(number of classes) parameter to1(for flame detection). Keep all other settings unchanged.
Training Command
Once the dataset and two YAML files are configured, start training YOLOv5 by following these steps:
- Open the terminal and navigate to the directory containing
train.pyin the YOLOv5 codebase. - Run the following command to start training:bash运行
python train.py --img 640 --batch 16 --epochs 300 --data fire.yaml --weights yolov5s.pt --name my_model
Parameter Explanation
| Parameter | Example Value | Description |
|---|---|---|
--img | 640 | Input image size (must be a multiple of 32). Larger sizes improve accuracy but require more GPU memory. |
--batch | 16 | Number of images processed per batch. |
--epochs | 300 | Number of training epochs (iterations over the entire dataset). |
--data | fire.yaml | Path to the dataset configuration file. |
--weights | yolov5s.pt | Path to the pre-trained model weights. |
--name | my_model | Name of the folder to save training results. |
--device | cpu | Specify the training device (CPU/GPU). |
At the start of training, the console will display training progress and metrics.

Key Metrics for Evaluating Training Performance
- Loss: The inverse of an exam score—the lower, the better. It represents the gap between the model’s predictions and the ground truth. A continuously decreasing loss indicates the model is learning effectively.
- Precision: Similar to the percentage of correct answers in an exam. High precision means most of the model’s predictions are accurate.
- Recall: Similar to the percentage of all correct answers identified in an exam. High recall means the model can detect most real-world targets.
- mAP (mean Average Precision): A comprehensive metric like an overall exam score. It combines precision and recall to evaluate overall model performance—the higher the mAP, the better the model.
- F1-score: A balanced metric between precision and recall. It reflects the model’s ability to maintain both high accuracy and high detection rate.
- Confusion Matrix: A “report card” showing the model’s performance on each class. It identifies which classes the model confuses with each other.
Where to Find the Trained Model?
Trained YOLOv5 models are saved in the runs/train/weights folder:
best.pt: The model with the best performance on the validation set (equivalent to your best exam score).last.pt: The model from the final training iteration (equivalent to your latest exam score).
Test Inference with the Trained Model
Copy the best.pt model file to the project root directory, then run the following command to test it on an image named test.jpg:
python detect.py --weights best.pt --source data/images/test.jpg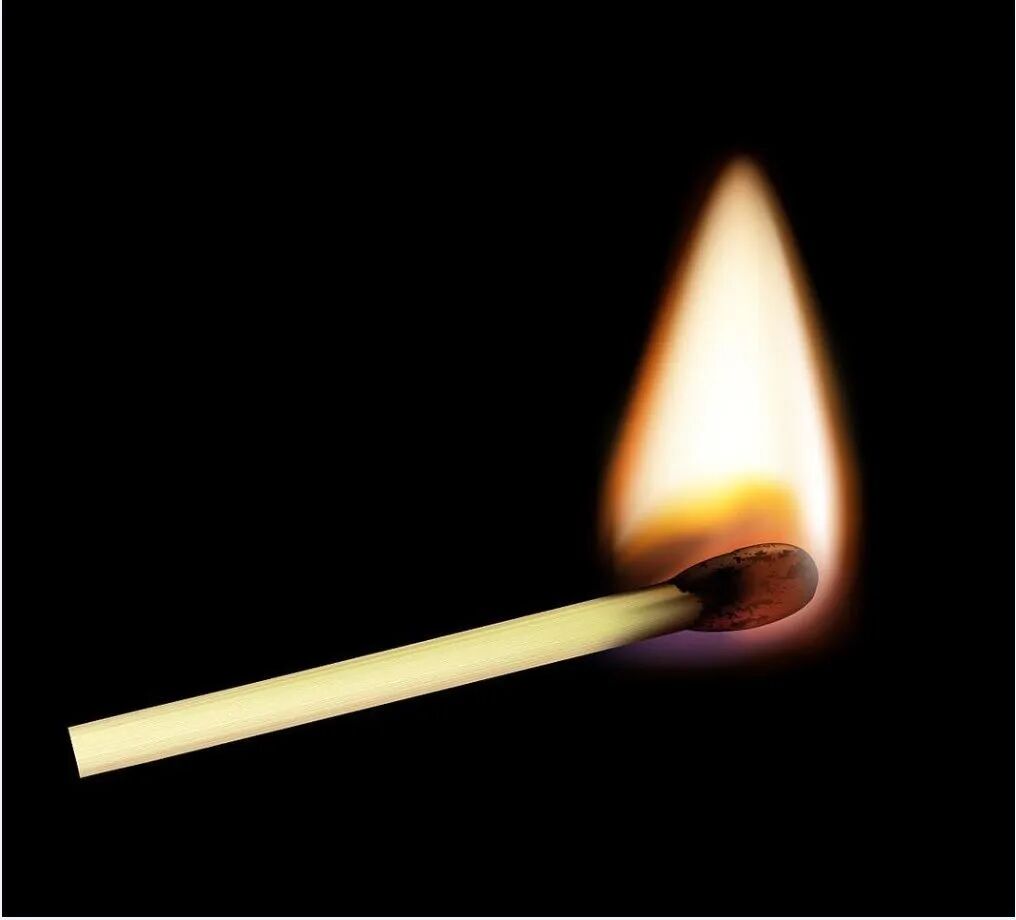
Test Process:
- Prepare the test image
test.jpgand place it indata/images/. - Run the inference command above.
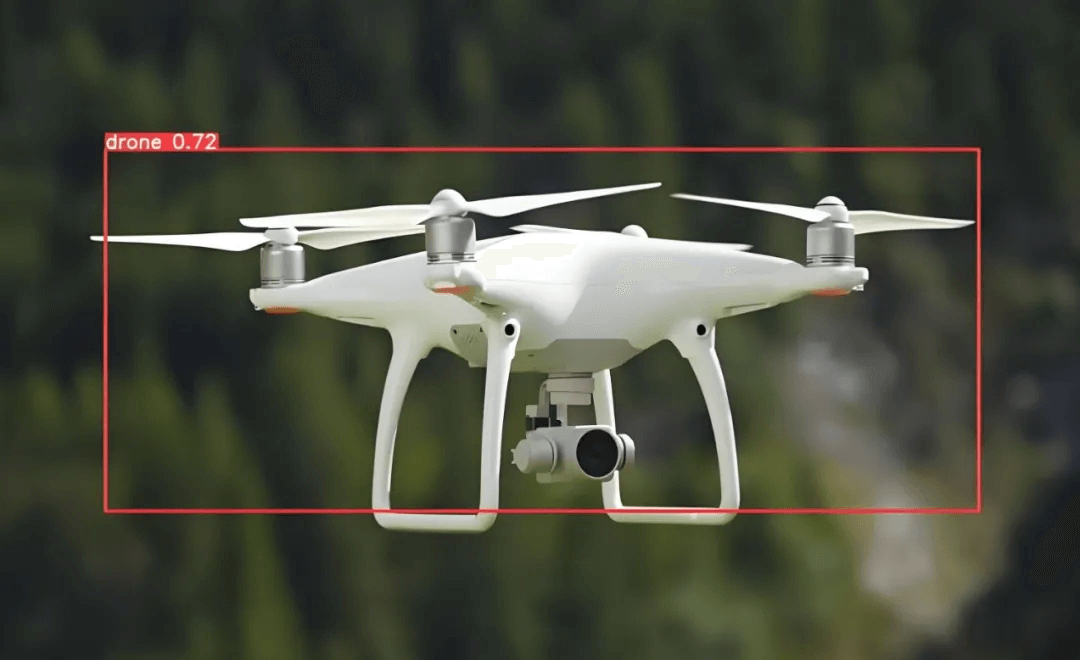
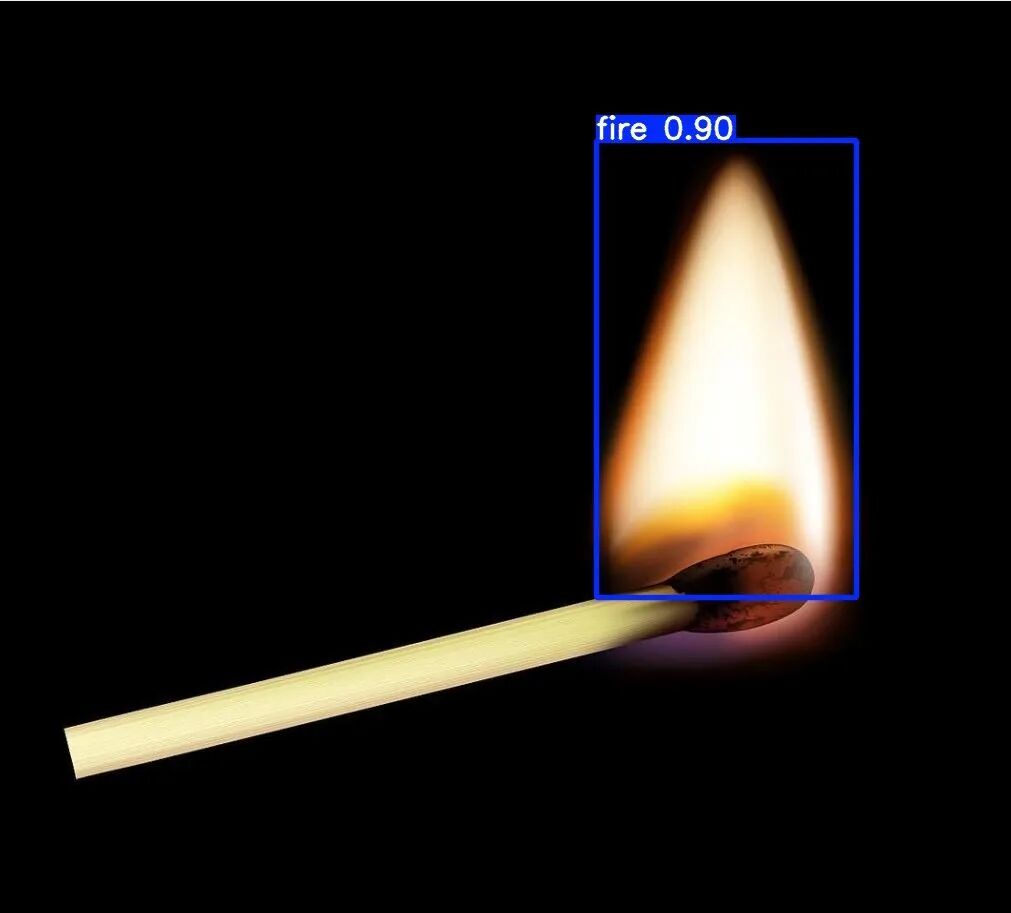
- View the detection results (images with bounding boxes and confidence scores).
The model is now ready for practical flame detection tasks.
Conclusion
Through this tutorial, you should have a basic understanding of YOLO model training and dataset annotation. In the next installment, we will share how to use the trained model for flame AI detection and alarm systems.