Introduction
We started our Python journey with NumPy. Although scientific computation might be our primary purpose for using Python, it still relies on the basic Python ecosystem for support.
Therefore, we will launch a new section, briefly introducing Python’s basic syntax and usage. From fundamental data types to control flow syntax structures; from unique comprehensions to universal functions and classes.
We will delve into the original design philosophy of Python.
This article begins with a few commands to quickly set up a Python environment tailored for daily earth science development!
About Conda
Concept and Definition
Conda is a cross-platform package and environment management system that conveniently installs and manages Python libraries and other dependencies. It allows creating isolated virtual environments to use different versions of Python and libraries across different projects without conflicts.
Compared to directly downloading from the Python website, creating a Python environment, and managing it with pip, Conda’s advantages for managing Python projects include:
- Environment Isolation: Create different virtual environments for different project requirements, using specific Python versions and libraries, thus avoiding conflicts and version issues.
- Easy Migration: Conda can create environment configuration files to easily replicate the same environment on different computers. Additionally, tools like
conda-packfacilitate packaging and migrating local environments to offline workstations and supercomputing clusters. - Simplicity: Conda uses simple command-line statements to easily install, update, uninstall third-party libraries, and manage virtual environments.
Download and Installation
https://www.anaconda.com/docs/getting-started/miniconda/install
After downloading, follow the installation prompts by clicking “next” through the steps.
Important Note: MiniConda2 corresponds to Python 2.x versions, while MiniConda3 corresponds to Python 3.x versions.
Conda Basic Operations
Creating Virtual Environments
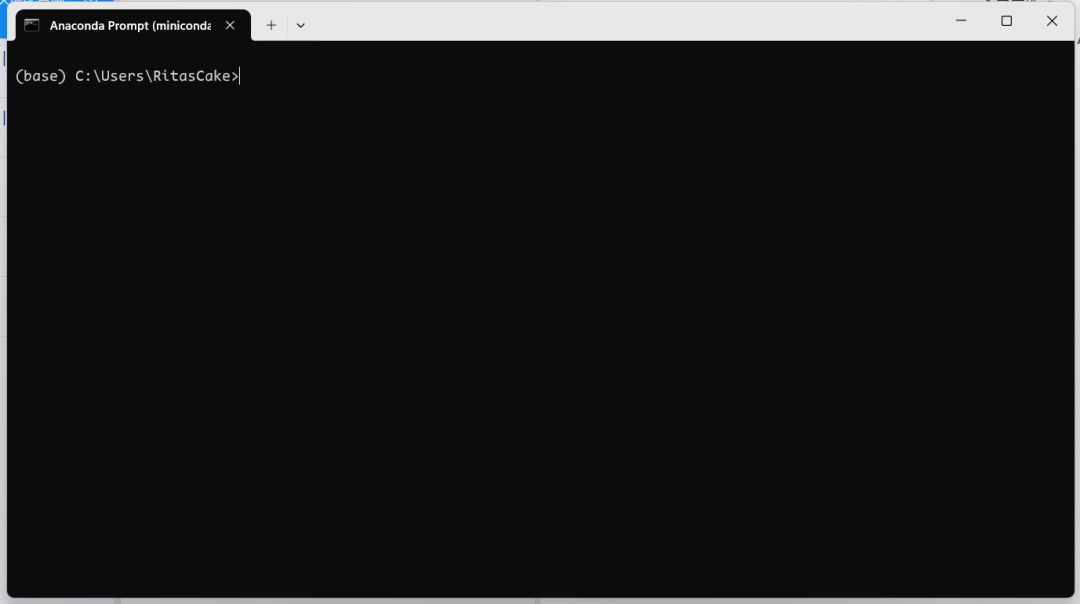
After installing Miniconda, you can open “Anaconda Prompt (miniconda3)” from the Start menu.
At this point, the Conda environment is the default base environment, indicated by (base) before the command prompt C:\User\xxx>.
Generally, we don’t modify the default base environment but create new virtual environments. If a virtual environment has issues, we can delete it and recreate it based on base, avoiding the need to reinstall Miniconda if the base environment gets corrupted.
Let’s break down the command for creating a virtual environment:
bash
conda create -n test-env
conda: Invokes the Conda package manager command.create: Creates a new Conda virtual environment.-n: Used to specify the new environment’s name.
The above creates a Conda virtual environment named test-env using default settings. To set richer options, you can append parameters after the command:
bash
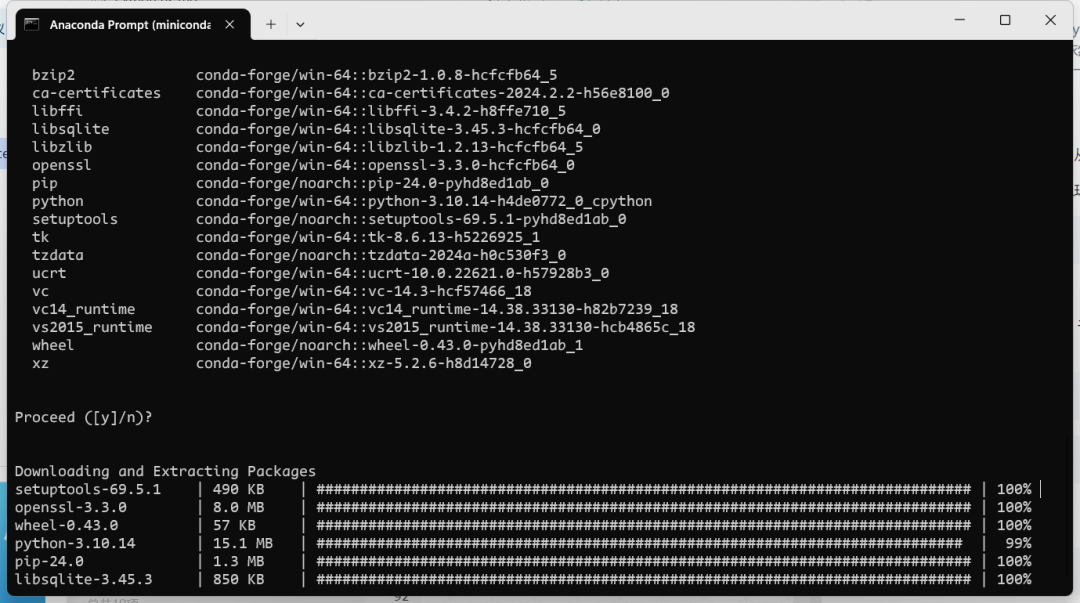
conda create -n py310-test -c conda-forge python=3.10
Here we added more custom parameters, including:
-c conda-forge: Specifies the source channel for installing packages.conda-forgecontains a vast number of third-party libraries and versions. Compared to getting third-party libraries directly from the main Conda channel, it often offers significant download speed advantages.python=3.10: Specifies the Python version to install, here Python 3.10.
Regarding Python Version Selection
Unlike using apps or closed-source languages like MATLAB, due to compatibility issues, it’s generally not recommended to install the latest Python release.
Third-party libraries relying on the open-source community may have version conflicts, outdated dependencies, or bugs caused by underlying Python changes with new versions.
Therefore, using a Python version several releases older is recommended for a better compatibility experience. As in the example above, we installed Python 3.10, even though Python 3.12 has been released for quite some time.
If a virtual environment is corrupted or no longer needed, we can remove it:
bash
conda env remove -n py310-test
Activating Virtual Environments
After installing a virtual environment, we can activate it to start customizing.
First, list the virtual environments present on the machine:
bash
conda env list
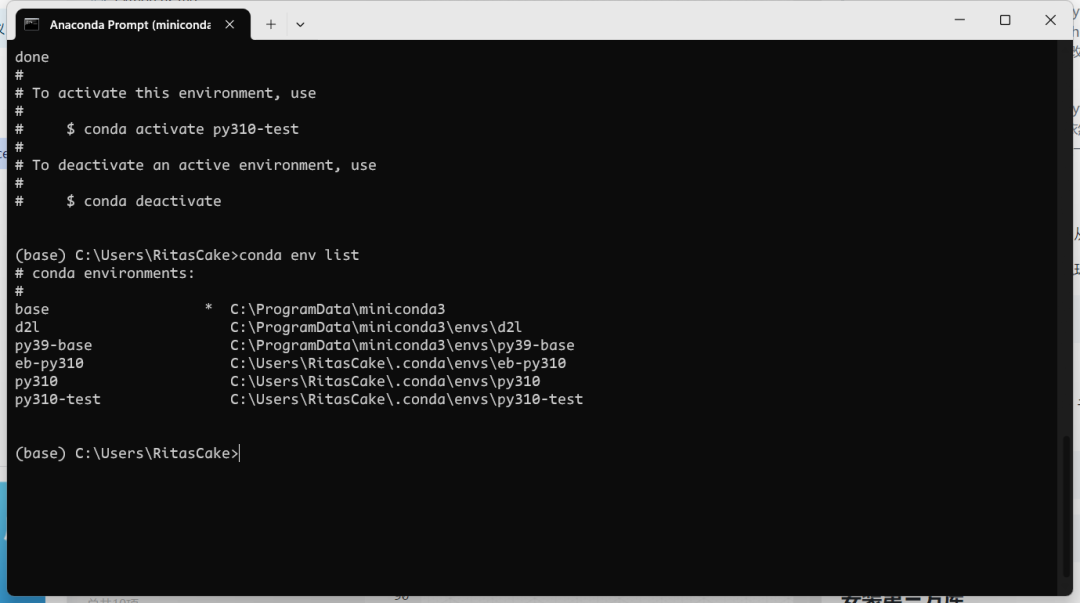
You can see py310-test already exists. Then, we can switch to that environment:
bash
conda activate py310-test
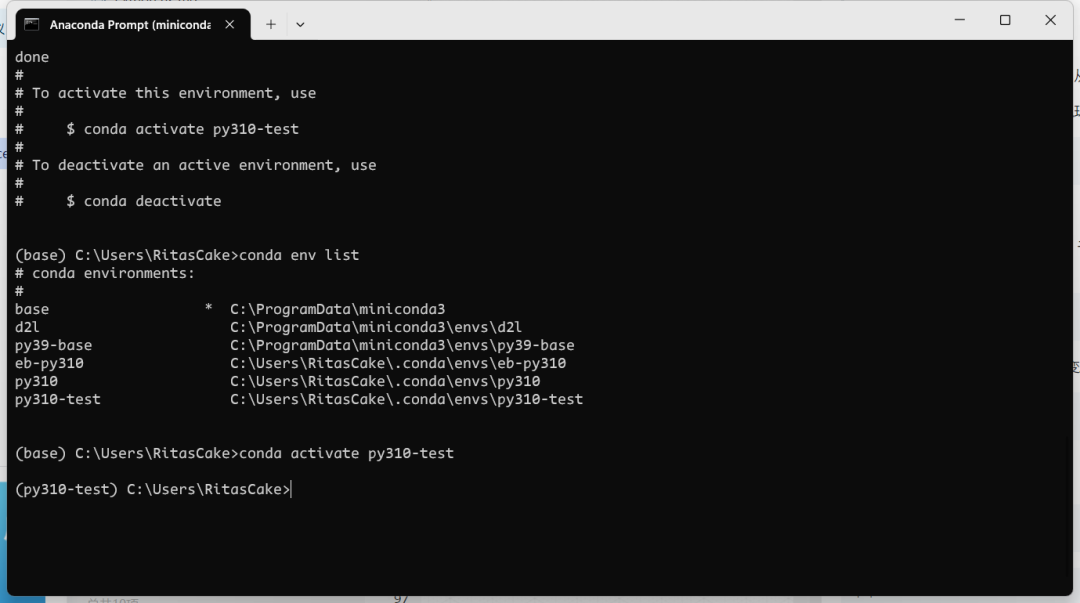
After successful switching, the (base) before the command prompt changes to (py310-test).
To deactivate the current environment and return to the base environment, use deactivate:
bash
conda deactivate

Installing Third-party Libraries
Switch back to the py310-test environment we just created. Let’s demonstrate how to install third-party libraries.
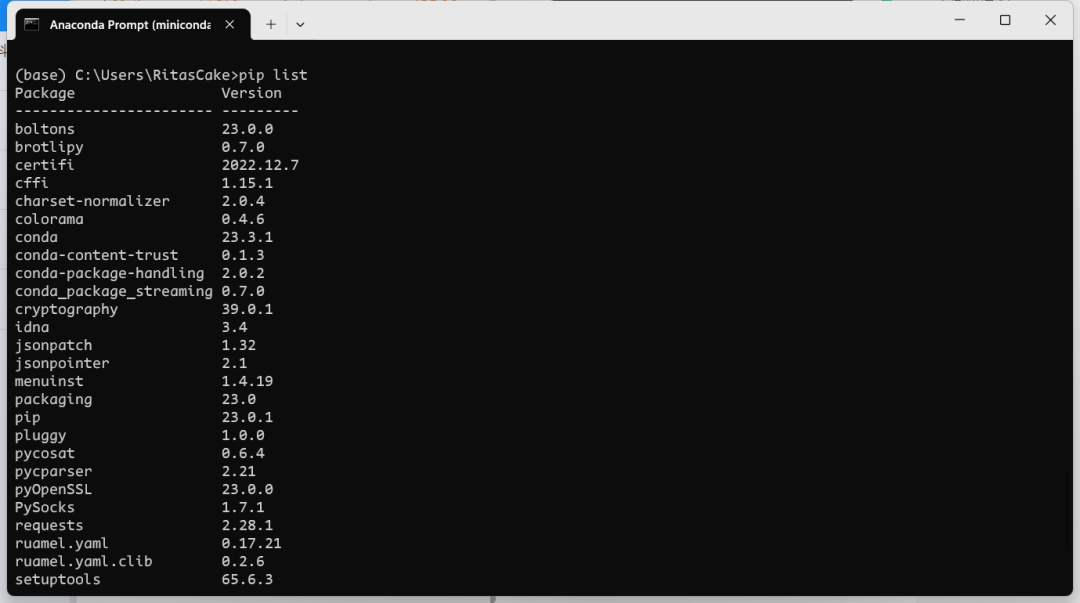
First, check the currently installed Python libraries:
bash
conda list

Conda also natively supports Python’s native pip command:
bash
pip list
Let’s try installing Rasterio, a commonly used raster processing library in earth science:
bash
conda install -c conda-forge rasterio
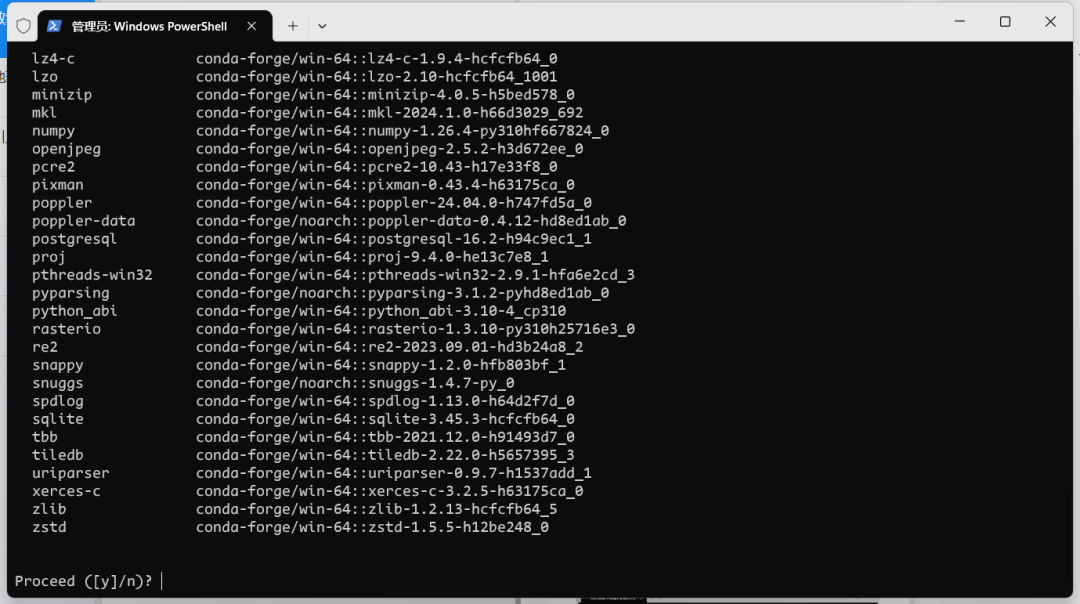
As shown above, Rasterio requires many dependencies to work. Conda’s advantage lies in better support for third-party library dependency environments compared to pip.
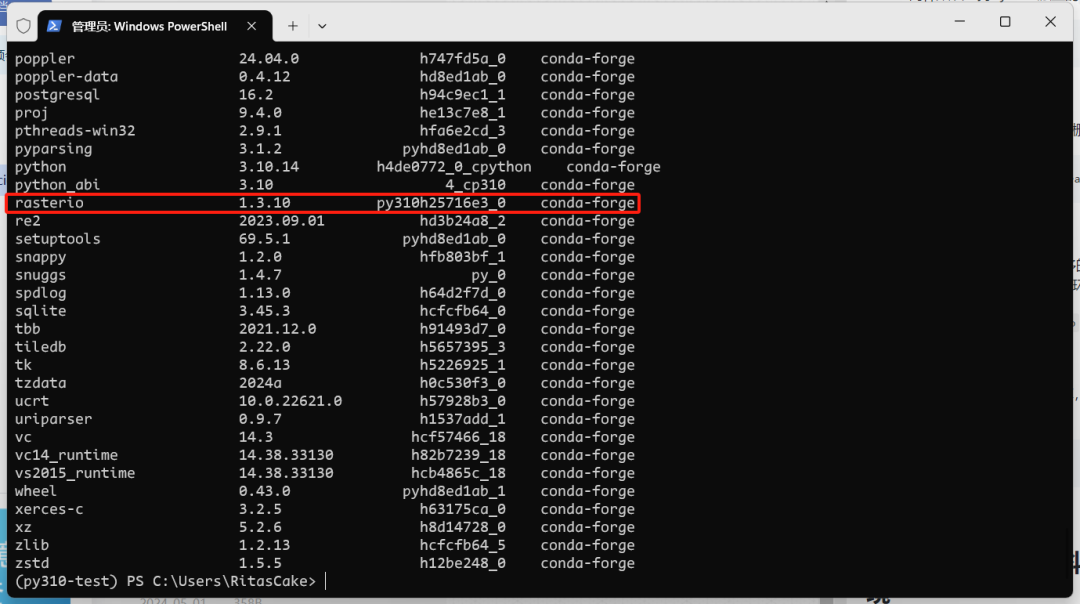
Using conda list, you can see Rasterio is successfully installed.
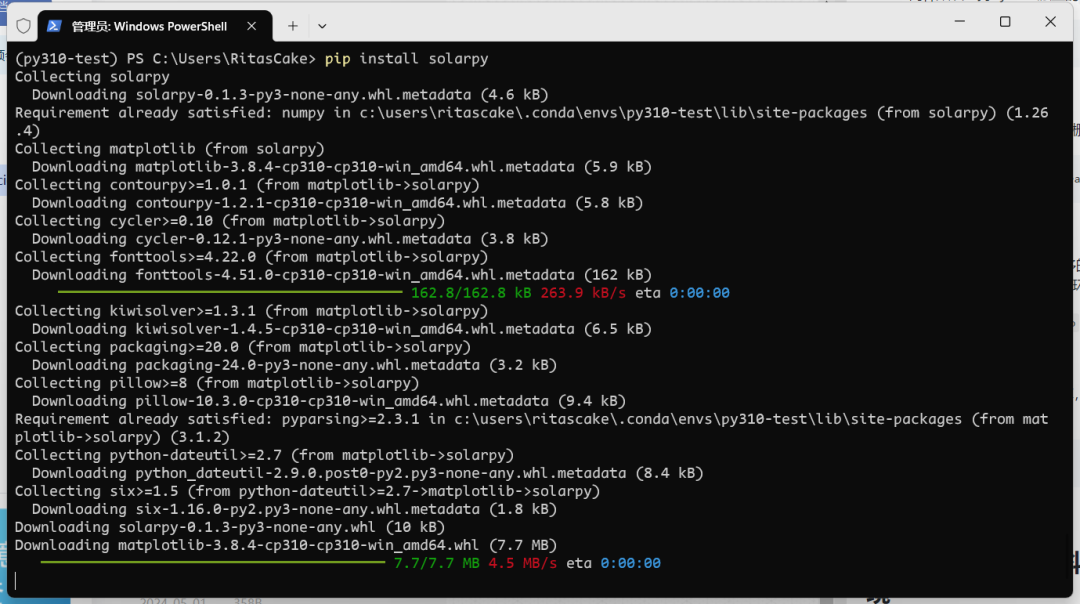
For niche libraries not included in Conda, or those requiring source installation, we still need to use pip:
bash
pip install solarpy
Quickly Configuring an Environment for Basic Earth Science Requirements
Mamba
Before introducing how to quickly set up a Conda virtual environment that meets our basic programming requirements in earth science, we first need to talk about Mamba.
Mamba is a high-performance package manager for Python and R environments, built with C++. It’s a cross-platform tool designed to provide faster and more efficient package installation and management than the traditional Conda package manager.
Its main features include: parallel accelerated downloads, compatibility support (Mamba detects conflicts between existing libraries in the current virtual environment and new libraries to be installed, automatically upgrading/downgrading versions for compatibility), and cross-platform support (Windows, Linux, macOS, etc.).
Before configuration, we first install it and use it for package management.
bash
conda install -c conda-forge mamba
Let’s try using it to install a third-party library; its basic usage is consistent with Conda:
bash
mamba install -c conda-forge proplot
You can see that Mamba automatically performs version upgrades/downgrades due to version conflicts.
Application Example
All set. Now let’s use a few brief lines of command to configure a virtual environment that meets our daily usage requirements!
bash
conda create -n py310-test -c conda-forge python=3.10
conda activate py310-test
conda install -c conda-forge mamba

mamba install -c conda-forge proplot
mamba install -c conda-forge pygis geemap
mamba install -c conda-forge cartopy
mamba install -c conda-forge salem
The meaning of the first three lines has been explained earlier. The next four lines install five third-party libraries. Among them:
- Proplot is currently a very powerful visualization library.
- PyGIS and Geemap integrate the most commonly used earth science libraries (e.g., GDAL, Rasterio, Xarray, GeoPandas, including Google Earth Engine’s Python API and Jupyter Notebook), solving the problem of repeatedly using commands to install different earth science libraries and version conflicts in one go.
- Cartopy primarily focuses on earth science visualization, handling coordinate systems, projections, etc., in our plots.
- Salem is currently a very practical tool for NetCDF masking.
Next, simply configure this environment in your development environment (like an IDE), and you can start your enjoyable programming journey. Other third-party libraries needed for further expansion can be installed as needed.